Fineliner drawing guide: small lines, expressive drawings
Explore EYEYE fineliner drawing through outlines, hatching, simple projects and a practical sketchbook routine.
By EYEYE Journal · October 25, 2026
In this guide
Make a line library before starting a finished drawingChoose a surface that suits the marksPractice movement without demanding perfect linesBuild shapes from what you can actually seeUse line weight to create a reading orderMake shadows with spacing rather than pressureUse stippling for small areas of textureProject one: draw a cup with three valuesProject two: build an illustrated journal entryProject three: make a useful place sketchCombine ink and other media in the right orderKeep letters, symbols and borders readableProtect the tips and keep your working area simplePhotograph a drawing without losing the useful detailBuild a practice habit around small finished pagesA fineliner turns a simple mark into a drawing one decision at a time. You can suggest a leaf with a contour, give a cup weight with a few shadows or make a journal page easier to navigate with a clear set of symbols. You do not need to fill every area or own every possible tip size. Start with one EYEYE fineliner, paper you have tested and an object you can observe closely.
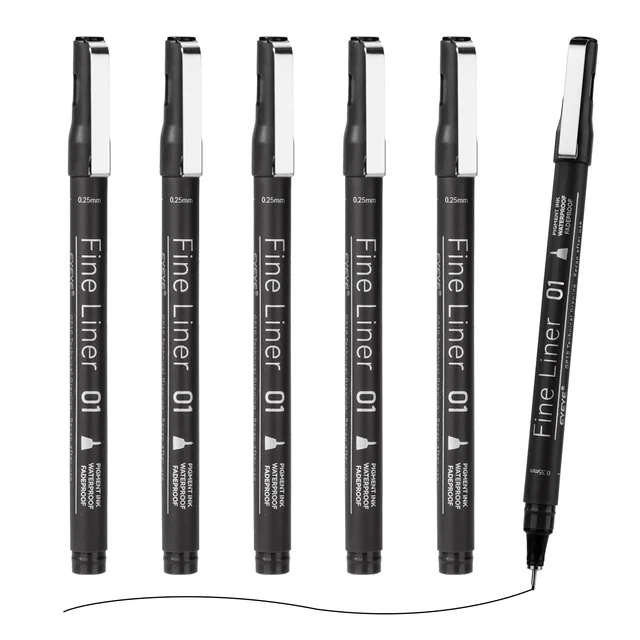
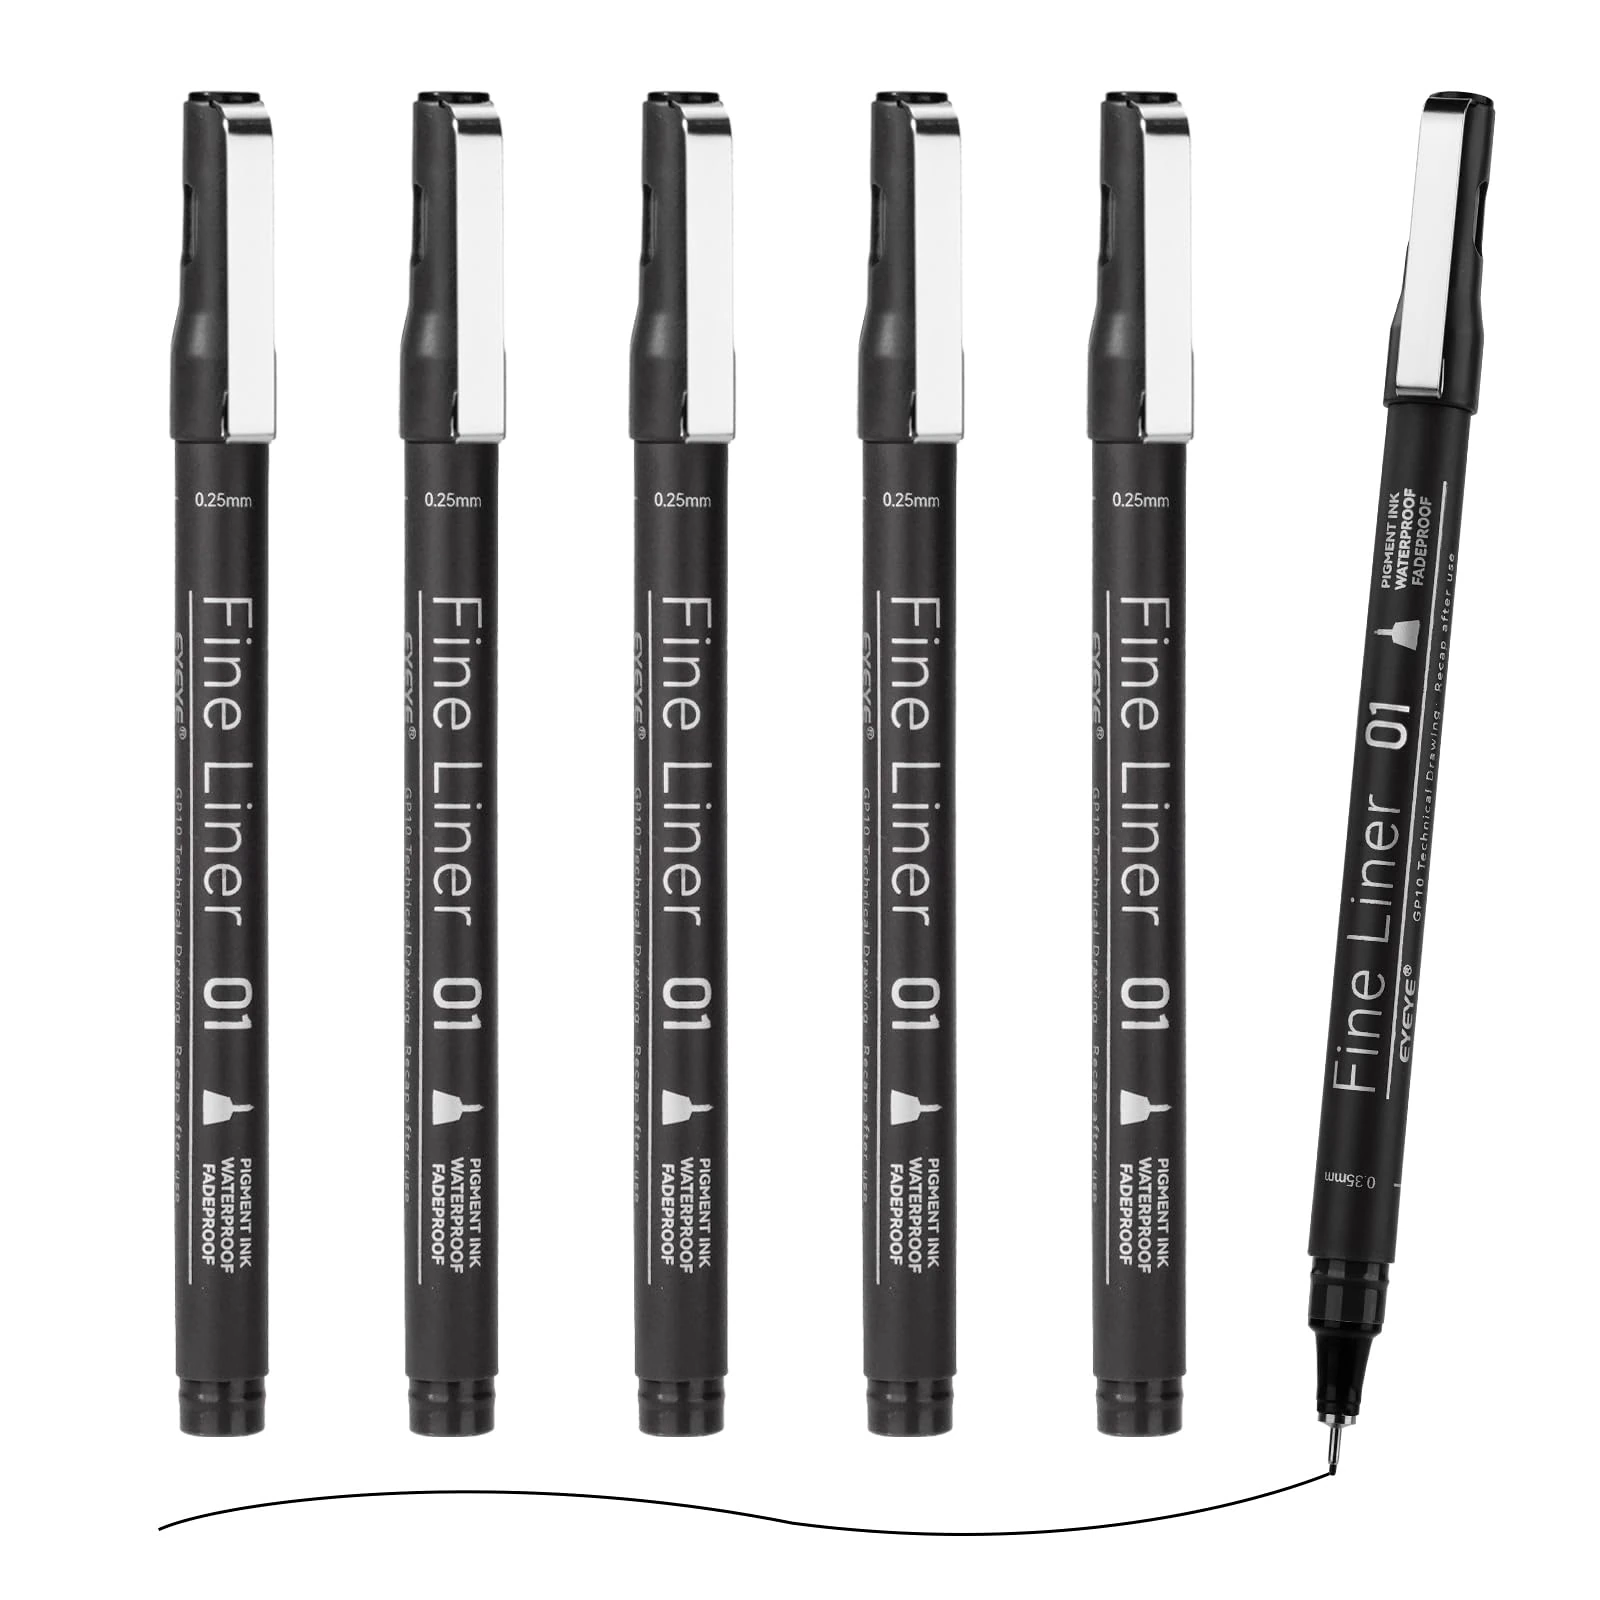
The exercises below move from line control to three complete page projects. They are designed for ordinary practice, not for producing identical results. Check the selected EYEYE fineliner set for its exact tip assortment and stated ink properties. Similar-looking packs can contain different configurations. Keep the package information, make your own sample sheet and choose each pen by the mark it actually makes.
 View photograph ↗
Make a line library before starting a finished drawing
Use the first page of a sketchbook as a reference. Write a short label for each pen, then draw a straight line, a curve, a small circle and a patch of parallel strokes. If the set includes several sizes, keep the samples beside one another. The differences may be easier to see in a small drawing than in a single isolated line.
Use a light, ordinary drawing pressure. A fine tip is not a tool to press harder for a broader stroke. If you want a heavier mark, choose a different point or add a deliberate second line after checking the paper. Pressing can make the drawing less controlled and may damage the tip. Let the shape of the point and the spacing of your marks do the work.
Add a few handwritten labels in the size you use for journal notes. A point that looks ideal for tiny texture may be less comfortable for a long caption. Keep this reference page near the front so it is easy to find. As you discover useful patterns, add them below the original samples instead of starting a new chart every time.
Choose a surface that suits the marks
Smooth paper can make small, precise lines easier to control, while a textured sheet may interrupt a fine stroke. That does not make one surface universally better. A broken line can be part of a drawing, but it should be a choice rather than an unwelcome surprise. Try a few curves and short parallel marks on the paper you intend to use.
Check the reverse for bleed-through before committing to both sides of a journal page. Put a spare sheet underneath during the test. If you plan to erase a pencil sketch, test that sequence too: light pencil, ink, sufficient drying, then gentle erasing. The paper may change in appearance or texture when rubbed. A scrap from the same pad is useful for these checks.
Think about the finished use. A practice sketch can stay in a notebook; a page intended as a gift or display deserves more attention to the paper, ink specifications and storage. Do not assume that all black drawing ink has identical water or light resistance. Confirm the exact product's stated properties, and keep experimental mixed-media tests separate from finished work.
Practice movement without demanding perfect lines
Draw two small dots and connect them with one comfortable stroke. Repeat with the dots farther apart. Move your hand above the page once before making the mark if it helps you understand the direction. Aim for a clear movement rather than a perfectly straight result. A ruler has its place, but freehand practice teaches you how your hand travels.
Next, draw a row of loose curves, then a row of simple loops. Leave room between them so each is a fresh attempt. Avoid tracing a hesitant line repeatedly until it becomes a thick dark band. A confident imperfect line often communicates a shape more clearly than several competing corrections. On a practice page, the original mark is useful evidence of what your hand did.
Rotate the paper when a direction feels awkward. There is no requirement to draw every curve from the same fixed position. Notice whether pulling a line toward you or moving across the page feels more controlled. Keep your grip relaxed and take a pause when your hand tightens. The purpose of the exercise is useful control, not speed or a page full of identical marks.
Build shapes from what you can actually see
Choose a mug, a pair of scissors or a small plant. Spend a moment looking before you draw. Identify the widest and narrowest parts, the overall height and the large empty spaces. On a mug, the opening inside the handle may be as useful a guide as the outside edge. Those spaces give you something concrete to compare as the drawing develops.
Begin with the largest relationships. A light pencil outline is optional, but if you use one, keep it simple. Mark the object's overall area and a few important changes of direction. Do not finish every small detail in pencil and then treat the pen as a tracing machine. Leave some decisions for the ink so the drawing stays responsive to what you are seeing.
When you begin inking, use small pauses between sections to check the shape. You can leave a gap where the edge is bright or where one form meets another. An outline does not have to be an unbroken fence around the object. A few deliberate gaps can keep the drawing open and let the viewer complete the shape.
Use line weight to create a reading order
Line weight is the visual strength of a mark. You can vary it with different tips, carefully placed extra strokes or a change in the density of nearby marks. The useful question is what the stronger line should do. It might identify the outer shape, separate two overlapping objects or direct attention toward a small area.
Try drawing the same simple leaf twice. In one version, give every edge and vein equal emphasis. In the second, make the outer shape clearer while keeping the internal veins lighter. Compare which one reads more quickly at a normal viewing distance. Neither approach is always correct, but the exercise shows how line choices affect the way the eye moves.
Avoid outlining every detail heavily simply because another tip is available. A drawing with only a few strong accents often has more room to breathe. Keep your heaviest marks for the places that need them. If you are using one pen, create a stronger area with a second parallel line or a small dark shape rather than pressing harder on the point.
Swipe or scroll to compare the columns.
| Mark | Possible use | What to watch |
|---|---|---|
| Light contour | Describe a shape without dominating it | Keep important edges readable |
| Stronger contour | Separate an object from its background | Avoid making every edge equally heavy |
| Parallel hatching | Suggest a shadow or curved surface | Keep spacing intentional |
| Dots | Build texture or a gradual value change | Do not strike the tip forcefully |
| Solid dark area | Create a focal accent | Test paper and avoid overworking it |
View photograph ↗
Make shadows with spacing rather than pressure
Draw four small boxes. Leave the first empty. In the second, add widely spaced parallel lines. Place the lines closer together in the third, then add a second set crossing the first in the fourth. You now have a simple range from light to dark made by changing the number and arrangement of marks, not by pushing harder.
For a curved object, let the hatching follow the surface. Lines that gently bend around a cylinder can suggest its shape more effectively than a flat patch of random strokes. On a folded cloth, change direction where the fold turns. Look at the object between groups of marks so you do not continue a pattern after it has stopped describing the form.
Leave a light area untouched. It is tempting to keep adding ink because the act of filling space feels productive, but a drawing needs places for the eye to rest. Step back before adding another layer. If a dark area is already doing its job, stop. You cannot return an inked section to clean paper as easily as you can erase a light pencil mark.
Use stippling for small areas of texture
Stippling builds tone from dots. Start with a small square rather than a large finished drawing. Place a few dots far apart, then gradually increase their density toward one side. Use a gentle touch and lift the pen cleanly. The dots do not need to be mechanically identical; their overall spacing creates the effect.
Look for places where this pattern suits the subject: a speckled surface, the rough edge of a stone or a soft transition around a small shadow. Use it selectively. Covering an entire page with dots can take far longer than expected and may obscure the drawing's main shape. A small textured patch beside a clean contour often communicates enough.
When your hand begins to hurry, pause. Fast, forceful tapping is unnecessary and can be hard on a fine tip. Move to another part of the drawing or return later. If you combine dots and hatching, give them distinct roles so the textures do not compete. For example, use hatching for the main shadow and dots for the object's surface.
Project one: draw a cup with three values
Place a plain cup where you can see one clear light side and one darker side. Keep the lighting steady while you work. Draw a small thumbnail first, no larger than a few inches, to decide how much of the page the cup will occupy. Leave space around the handle and beneath the base so the object does not feel crowded.
Establish the opening as an ellipse, then add the sides and base. Compare the handle's height with the body instead of drawing it from memory. Notice the empty shape inside the handle. You can use a light pencil for these main relationships, but avoid turning the page into a dense construction diagram. The sketch only needs to guide the final marks.
Ink the outer contour with a light touch. Keep the brightest edge simple and make the darker overlap near the handle more definite. Add one group of hatch marks on the shadow side, following the cup's curve. Place a smaller dark accent where the handle meets the body or where the cup touches the surface, depending on what you observe.
Stop when you have three clear values: untouched paper, a middle tone made from spaced lines and a small darker area. Step back and see whether the cup reads as a solid object. If it does, resist filling the remaining space. Add the date and a brief note about the pen and paper. This turns a modest drawing into a useful reference for the next attempt.
Project two: build an illustrated journal entry
Choose one object connected to your day: a key, a leaf, a ticket or something on your desk. Draw it in one corner of the page, leaving most of the space for writing. Decide the relationship between image and text before you start. A small drawing can be a useful entry point without becoming a large illustration that delays the journal itself.
Add three observations beside the object. Describe a visible detail, explain why it belongs to the day and write a question or thought it prompted. These notes make the page specific. You do not need to invent a dramatic story around an ordinary object. A record of what you actually noticed can be more interesting than a decorative page filled with generic quotations.
Use the fineliner for the drawing and labels. If you prefer another pen for the longer text, try an EYEYE gel pen, rollerball or fountain pen on a spare section first. Give each tool a defined role, and let ink dry before your hand moves over it.
Finish with one small accent: a border around the date, a row of dots or a simple divider. Leave the rest alone. The next day, repeat the format with a different object. A consistent layout makes the pages easier to maintain while the observed subject keeps them varied. Over time, the journal becomes a record of attention as well as events.
Project three: make a useful place sketch
Draw a small corner of a room, a desk arrangement or a familiar route as an informal sketch. Begin by deciding what the page needs to explain. A desk sketch might record where equipment fits; a route sketch might help you remember a sequence of turns. This is an observational exercise, not a substitute for an accurate map when navigation matters.
Choose a few anchor shapes. On a desk, those might be the work surface, lamp and notebook. Place the largest shapes first, then add the smaller objects that give the scene its identity. Use a stronger line for the main boundary and lighter marks for texture. Avoid filling every visible detail; the purpose of the sketch should decide what stays.
Add labels after checking that they have enough room. Draw a small leader line if a label cannot sit beside its object. Keep handwriting larger than you first think necessary, especially if you will photograph the page. A sketch becomes less useful when its labels require close inspection to decipher.
Review the finished page as if someone else had to read it. Is the starting point clear? Do the labels refer to the intended objects? Have you included a direction or scale only when you can support it? Correct ambiguity with a clear note rather than a dense cluster of arrows. The writing pen comparison guide can help you choose a comfortable tool for longer annotations.
View photograph ↗
Combine ink and other media in the right order
Before adding watercolor, a brush marker or another wet medium, check the exact fineliner's stated ink properties and test the complete combination on spare paper. “Drawing pen” alone does not establish how it behaves under water or another solvent. Even when a product describes water resistance, your paper, drying time and method still deserve a trial before a finished piece.
Make two small samples. On one, apply the fineliner first and let it dry before adding the other medium. On the second, let the color layer dry fully before trying the pen. Compare line clarity, transferred color and how the tip feels. Avoid drawing into a wet layer unless the product instructions support that use. A tip can pick up material from the surface.
Keep colored pencil tests separate from wet-media tests. Light pencil shading may sit comfortably around an ink outline, but heavy pressure can change the paper surface. Work gradually and preserve clean areas for labels. When a combination behaves unpredictably, use it for practice or choose a simpler approach. You can make a complete, expressive drawing with black lines and untouched paper alone.
Keep letters, symbols and borders readable
For journal labels, choose simple letterforms with open spaces. Write a sample at the size it will appear on the page, then view it at a normal distance. Tiny decorative lettering can look appealing close up while failing its practical job. Leave room between words and give headings enough space above and below to separate them from the drawing.
Create a small symbol set for recurring information. A square can mark a task, a circle an event and a question mark something to investigate. Use the symbols consistently and add a short key if the journal will be shared. A border can group related notes, but it should not consume the space needed for the words.
If you want a decorative heading, draw it separately in pencil first and check its width. Keep the body text plain. For monoline lettering with a nib, see the fountain pen beginner guide. The choice of tool matters less than giving each part of the page a clear visual role.
Protect the tips and keep your working area simple
Cap a fineliner when you pause, even if you expect to return shortly. Keep caps in one visible place while several pens are in use. Avoid dropping pens point-first, pushing a fine tip against a hard edge or forcing a wider mark with pressure. A ruler can help with straight lines, but use it gently and keep the point from scraping along a damaged edge.
Store pens where they will not be crushed or exposed to excessive heat. Keep the original package instructions for any storage guidance specific to the set. Wipe dust from the work surface before drawing, and place a clean sheet under your hand when it helps protect finished areas. This also gives you a convenient place to test a mark before adding it to the page.
If a line changes unexpectedly, compare the pen on a clean piece of the same paper. Check whether the surface contains loose fibers, eraser debris or another medium. Do not force the tip into the page to clear it. Set aside a damaged or persistently difficult pen and use the available product support options when appropriate.
Swipe or scroll to compare the columns.
| Check | Question to ask | Possible adjustment |
|---|---|---|
| Shape | Can I recognize the subject without reading the caption? | Clarify one important contour |
| Value | Are light, middle and dark areas distinct? | Add a small accent, not another layer everywhere |
| Spacing | Does the page have room around its main subject? | Leave the remaining area open |
| Labels | Can I read them at a normal distance? | Rewrite a label clearly in available space |
| Media | Has every layer dried before handling? | Wait before closing, erasing or scanning |
Photograph a drawing without losing the useful detail
Lay the page flat in even light and keep the camera parallel to it. Check that your hand or phone does not cast a shadow across the drawing. Photograph the whole page first, then make a closer image if the small line work matters. Keep the original image before making any crop or brightness adjustment so you can return to an unedited record.
Inspect the photograph at an ordinary viewing size. Fine lines that looked clear on paper may become hard to see in a small image, while a heavy shadow can hide pale pencil marks. If you are sharing a journal page, check the labels as carefully as the drawing and remove private details from the image you distribute. Add a brief caption naming the subject and, if useful, the pen and paper. Describe it as your practice or finished drawing without turning a personal result into a claim about how the pen performs for everyone.
Build a practice habit around small finished pages
Choose a subject you can complete in one short sitting. A single leaf, cup or desk object gives you enough to observe without turning practice into a large project. Keep the first drawing, even if you see several things to change. Next to it, write one specific observation: the ellipse was too narrow, the darkest patch was too large or the labels needed more space.
Repeat the subject later with that one point in mind. Changing one decision makes the comparison useful. You do not need to replace every pen, notebook and technique between attempts. Photograph the pages in even light if you want a compact record, but keep the paper when the surface and line quality matter to your review.
When you are ready to expand the kit, return to your line library. Choose another EYEYE tip or writing format because it fills a visible gap in the work you make. A small set that you understand gives you a clear place to begin the next page.
Find the pen for your next page.
Compare the current EYEYE collection by format, ink color and pack.
Explore fineliner pens →