Choose your writing pen: rollerball, gel or fountain
Choose an EYEYE writing pen by comparing rollerball, gel and fountain formats, the paper you use and the work on your desk.
By EYEYE Journal · October 25, 2026
In this guide
Understand the three writing formatsDescribe your actual writing job in one sentenceRead point-size labels with realistic expectationsCompare pens on the paper you already useGive drying time its own testChoose a closure for the way you moveMake meeting notes easy to act onBuild a study setup around retrievalSeparate planner needs from long-form writingUse color where it carries informationRun a fair comparison in fifteen minutesNotice comfort without relying on a barrel labelThink about pack quantity without wasting a purchaseMatch a pen to forms, signatures and shared documentsBuild a small EYEYE writing kit with distinct jobsA pen earns its place in a bag by doing the work you need: capturing a quick instruction, filling a planner box or making a page of notes pleasant to read. EYEYE offers liquid-ink rollerball pens, retractable gel pens and prefilled fountain pens. The most useful choice depends on your paper, handwriting and pace, not on which category sounds more impressive.
Start with the task that matters most. Then compare the point, closure, color and pack configuration of the exact pen you are considering. This guide gives you a repeatable way to make that decision and several practical setups for study, work and personal writing. It does not treat “quick drying,” a point-size label or a broad pen category as a guarantee of the same result on every sheet.
 View photograph ↗
Understand the three writing formats
A rollerball uses a small ball at the point to transfer liquid ink onto the page. A gel pen also uses a ball, but the ink formulation differs. A fountain pen uses a nib and feed, so its contact with the paper feels different and its orientation matters more. These are useful starting distinctions, but the actual pen design remains important. Two pens in the same category can have different grips, points, ink colors and closures.
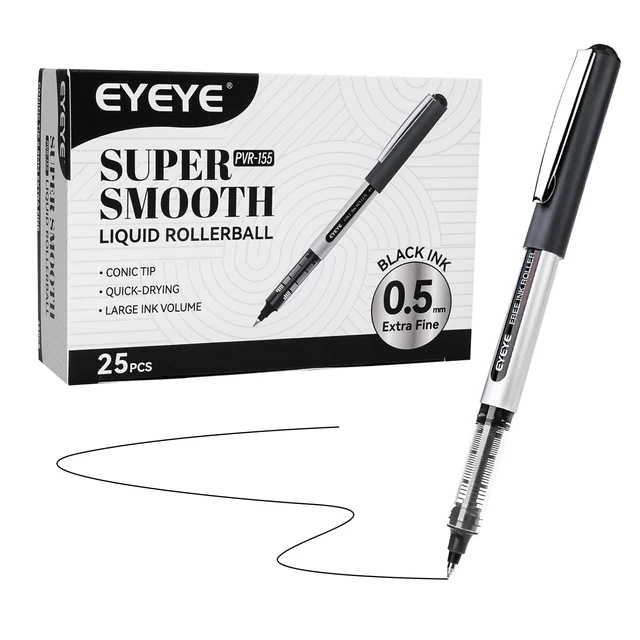
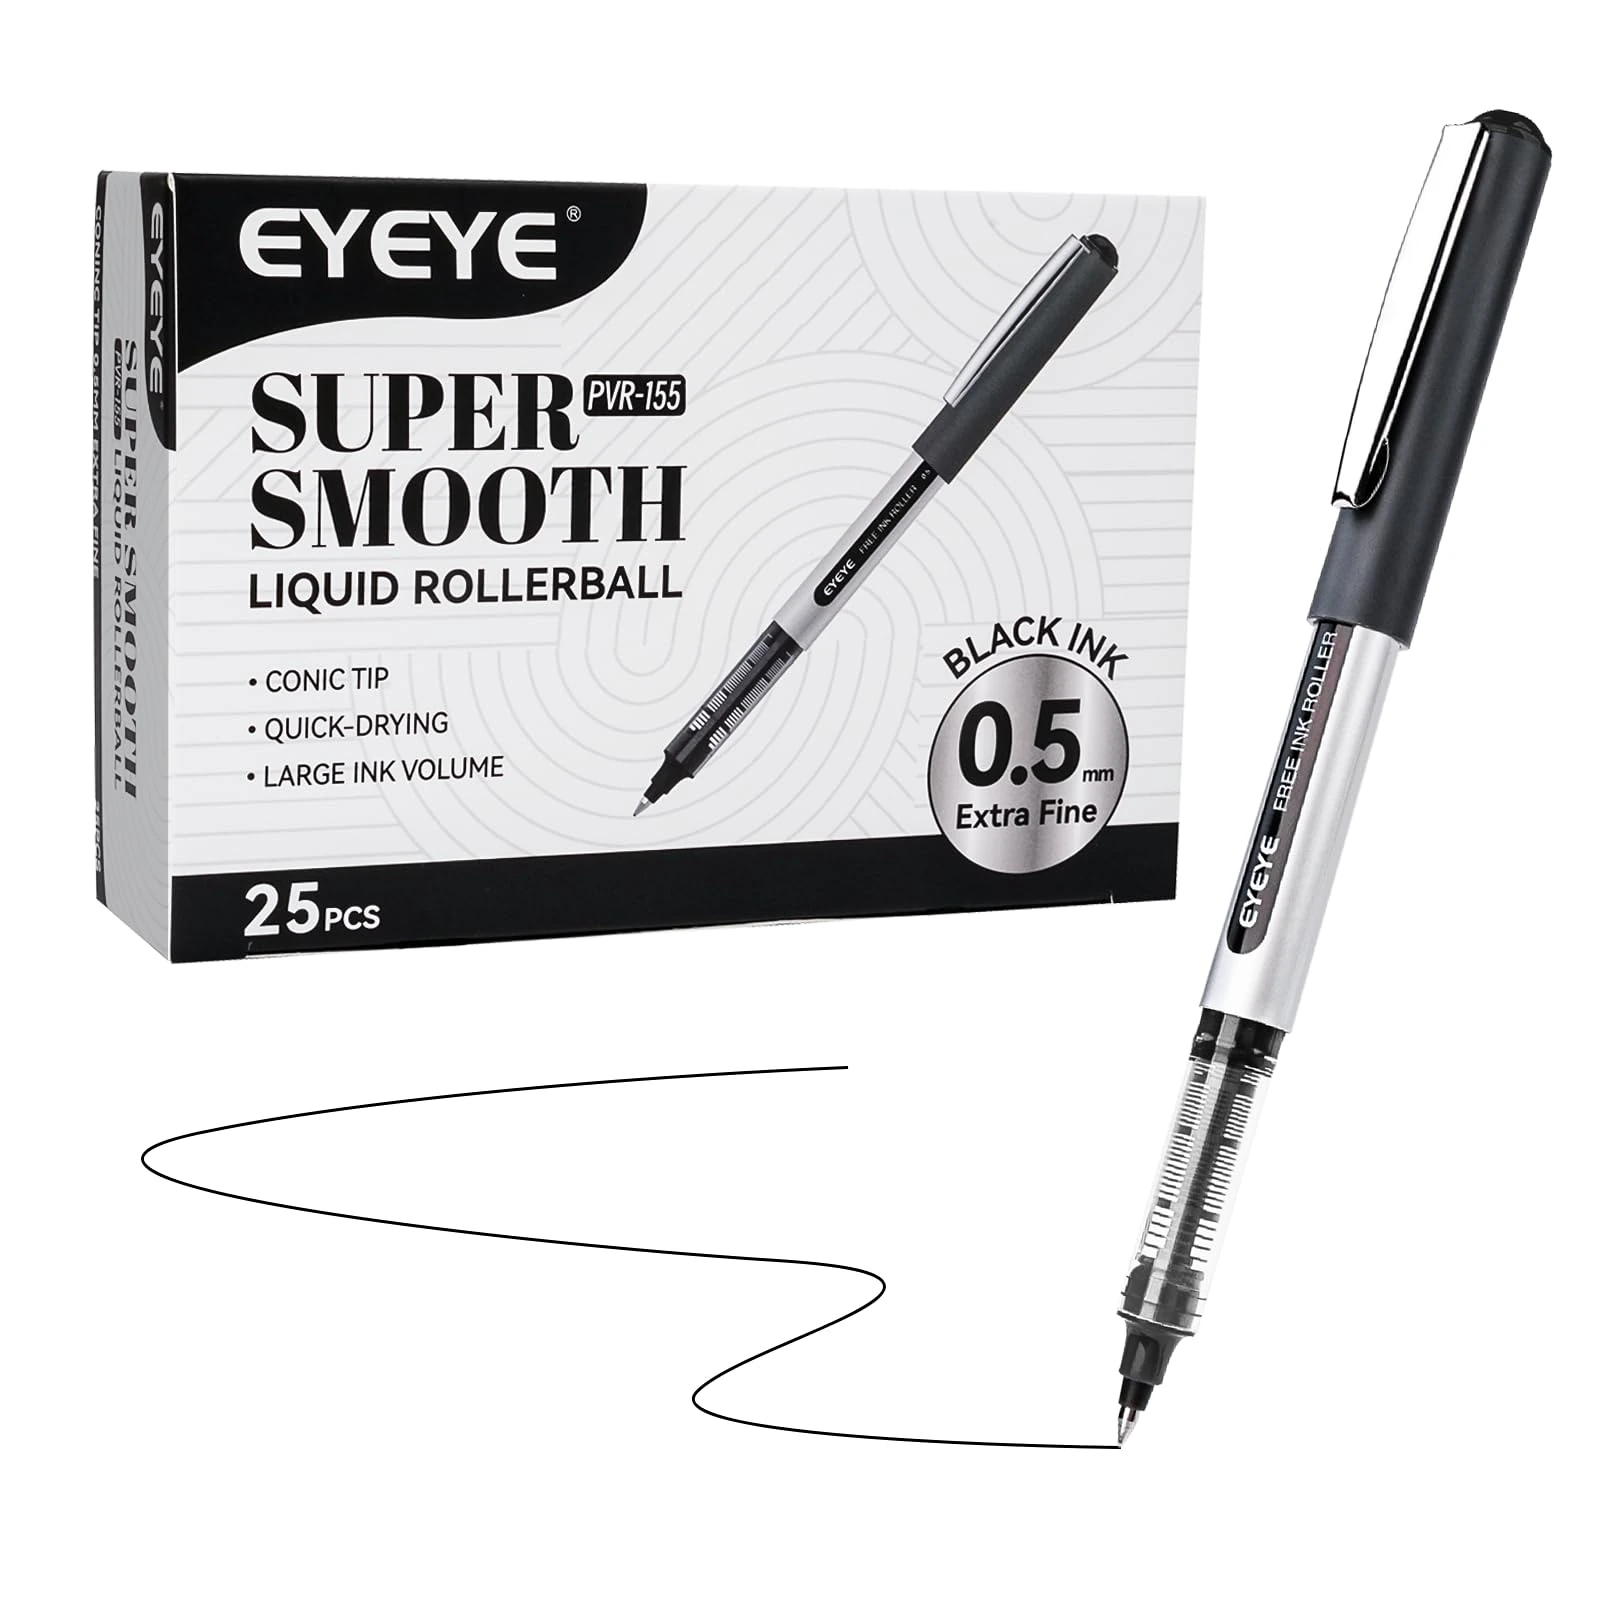
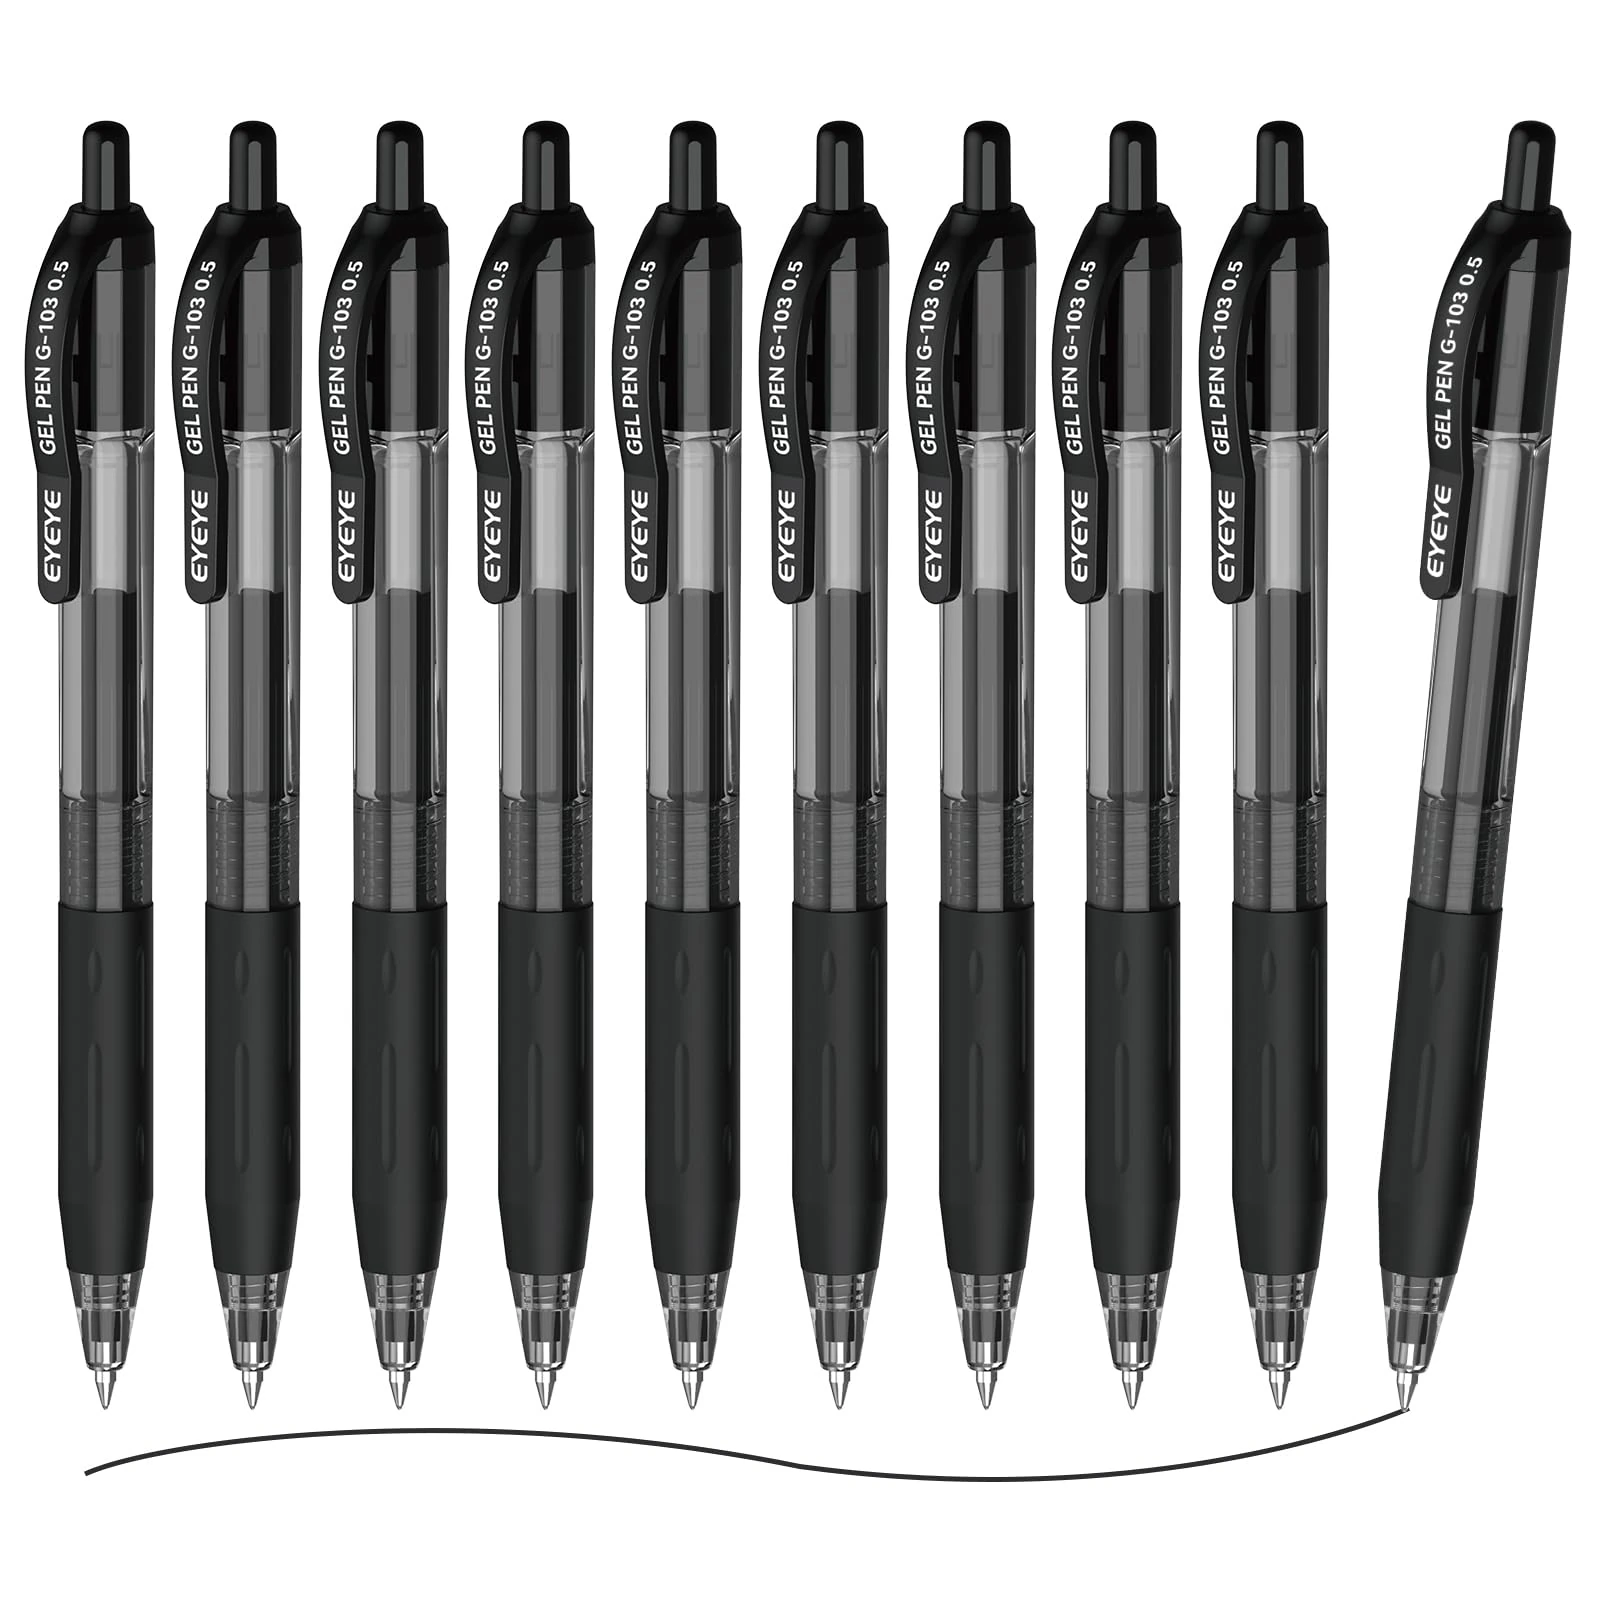
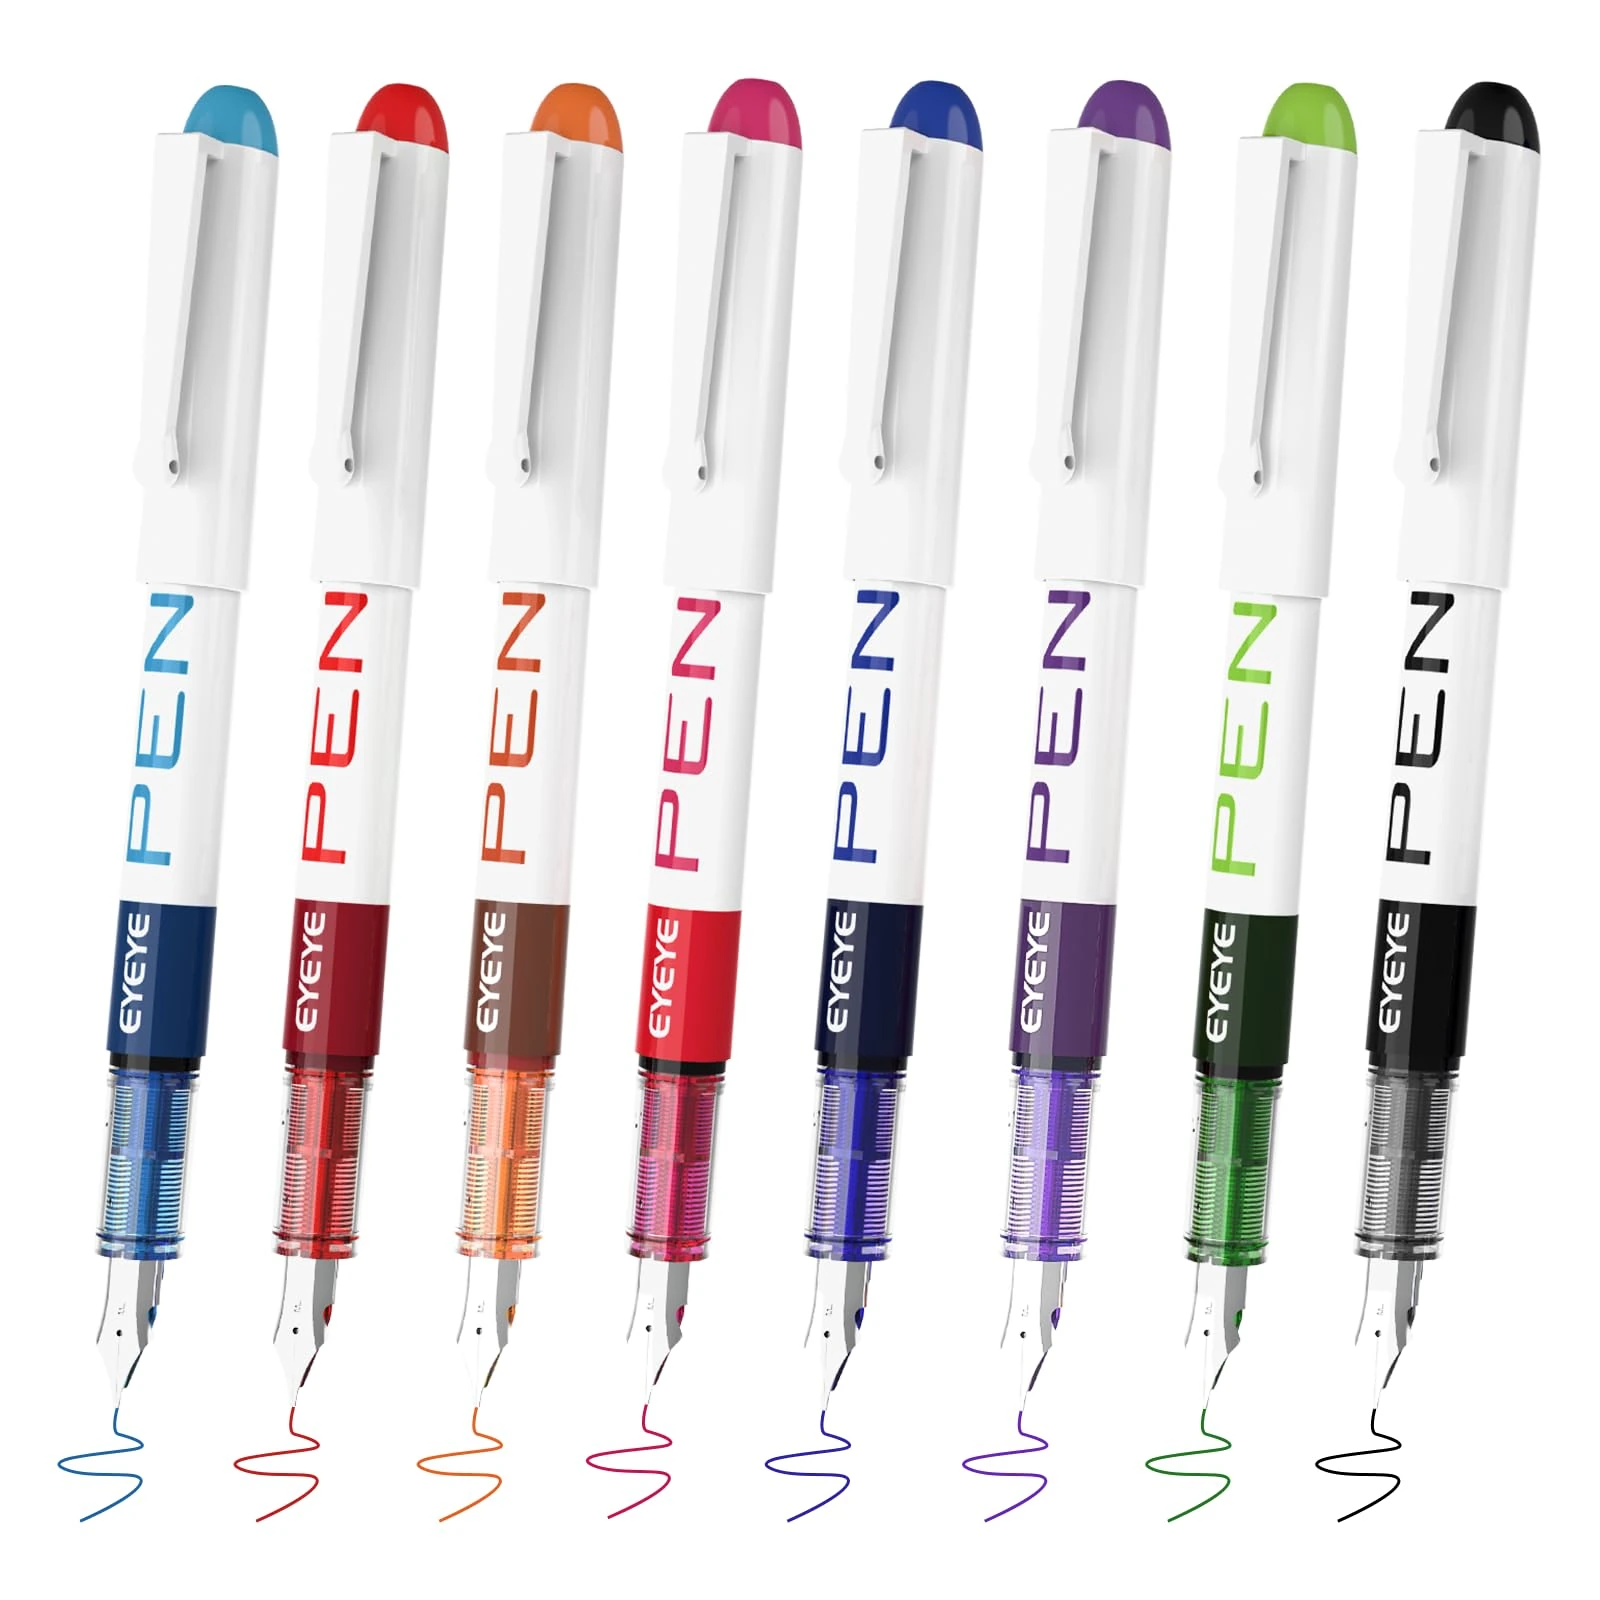
Within the EYEYE range, liquid-ink rollerball listings include extra-fine 0.5 mm options, while the G-103 gel range includes a retractable 0.5 mm format. The white-barrel fountain assortment has fine stainless steel nibs and comes prefilled. Check the selected item before ordering: a familiar family name does not establish the color or quantity of every pack.
There is no need to choose one format for all your writing. A person who enjoys a fountain pen in a journal may prefer a retractable gel pen for short notes away from a desk. Someone who likes a rollerball for compact handwriting may use a fineliner for diagrams. The aim is a small set of tools with clear jobs, rather than a drawer of similar pens whose differences you cannot remember.
Swipe or scroll to compare the columns.
| Format | Writing contact | Check on the exact product | Useful first trial |
|---|---|---|---|
| Liquid-ink rollerball | Small rolling ball | Point size, ink color and cap | A page of normal notes |
| Gel | Small rolling ball with gel ink | Retraction, point size and grip | Frequent short entries |
| Fountain | Metal nib and feed | Nib, filling format and assortment | A relaxed handwritten page |
| Fineliner | Fine drawing tip | Tip sizes and stated ink properties | A diagram with labels |
Describe your actual writing job in one sentence
“I need a pen for work” leaves many questions unanswered. “I write small notes in a pocket planner while standing” points toward a more specific trial. So does “I write several pages at a desk and use color to separate topics.” Your first decision should describe the page, the setting and the amount of writing. Brand and color preference can follow that practical outline.
Think about what interrupts you. A cap may be easy to manage at a desk but less convenient when you are holding a clipboard and phone. A thick line may look attractive in a title but fill small calendar boxes too quickly. A pale color may work in a large diagram yet disappear in a photocopy. These are use differences, not quality rankings.
Write down one requirement you will not compromise on and two preferences. For example, the requirement might be readable notes on your existing paper; the preferences might be a click mechanism and blue ink. This keeps the comparison manageable. If you try to optimize point size, body shape, every color, pack quantity and every possible use at once, a straightforward choice can become unnecessarily complicated.
Read point-size labels with realistic expectations
A number on a pen is a specification for that product, not a universal promise about the width of the line in your notebook. Ink delivery, paper absorbency, writing angle and the shape of the point influence the mark. A 0.5 mm gel pen and a 0.5 mm rollerball may look different on the same sheet. A fine fountain nib adds another kind of contact with the page.
To compare points, write the same sentence at your normal size. Include letters with small open areas, such as e, a and o, and a few numbers. If those spaces fill in, a finer-looking line or slightly larger handwriting may be easier to read. If the text looks faint or fragile, another point or a darker ink may suit the page better. Inspect the result at the distance from which you normally read it.
Do not test only with a large signature. A pen that makes a satisfying flourish may behave differently in a narrow form field. Add a short list, a heading and a small diagram to your trial. Those marks reveal whether the same pen can cover your main tasks or whether a second format would serve a genuinely different purpose.
Compare pens on the paper you already use
Gather a page from your planner, a notebook and the loose paper you use most often. Write the same short sample on each, using one pen at a time. Keep the page supported in the same way during every test. If you compare one pen on a thick pad and another on a single sheet over a rough desk, the changing surface can distract from the difference you meant to examine.
Check line edges, reverse-side visibility and smearing separately. A crisp dark line can still take longer than you expect to dry. A mark that dries quickly can spread on an absorbent sheet. Judge the complete combination against your task. If you write on both sides, reverse-side readability matters. If you annotate a single printed page, it may matter much less.
Repeat a promising combination in a real session before buying a large pack for it. A few loops in a store or on a spare card do not tell you how your hand feels after a page of notes. You do not need a formal score. Record a short observation such as “easy to read in planner boxes” or “comfortable, but needs a pause before highlighting.”
Give drying time its own test
Smearing is often the issue people notice first, especially when a hand moves across fresh writing. Test it in a way that resembles your routine. Write several short lines, then check separate spare marks after different pauses. Use a clean fingertip and a light touch. Do not rub the same mark repeatedly; once you disturb it, the next check no longer represents an untouched line.
Label the paper and pen so you can repeat the result later. The point is to learn whether your own writing pace allows enough time before your hand, a page turn or another tool reaches the ink. A listing's drying description can guide what you try, but it does not replace this check. Ink color, a heavily retraced stroke and a different sheet can all change the practical result.
If you highlight notes, test the actual highlighter too. Let a sample rest, draw one pass over it and inspect the tip for transferred ink. Repeated passes can behave differently from one light stroke. Keep this experiment away from important notes. You can also separate emphasis from the writing by placing a highlight beside a line or using a colored symbol in the margin.
 View photograph ↗
Choose a closure for the way you move
The retractable G-103 format can be useful when you make many short entries and want to extend or protect the point without managing a separate cap. Check that the point is retracted before placing the pen in a pocket or case. A click mechanism is a convenience, not permission to leave the pen loose beside clothing or a delicate screen.
For a capped pen, decide where the cap will go while you write. A desk tray, a clear corner of the page or a secure pen case prevents it from disappearing beneath papers. Do not assume a cap is intended to fit on the back of every barrel. If you try that position, use only a gentle fit and stop if it feels loose or requires force.
Think about noise and interruptions as well as speed. In a quiet room, repeated clicking may be distracting. At a busy work station, a cap can be easy to misplace. These small habits can matter more than a subtle difference in line appearance. Choose the format that supports your setting, then put a simple storage routine around it.
Make meeting notes easy to act on
For meetings, the most important pen characteristic is that it supports writing at your normal pace on the paper provided. Before the meeting, test the top corner of a spare sheet or a page near the back of your notebook. Keep a backup nearby. Do not introduce an unfamiliar ink-and-paper combination when you have only one chance to capture a fast instruction.
Use a dark main color and reserve a second color for actions or decisions. Write the meeting date and subject clearly. Leave a narrow margin for symbols, then put names and deadlines beside the actions they belong to. This structure is useful whether you choose an EYEYE rollerball, gel or fountain pen. A readable page with clear next steps is more valuable than a complex color scheme.
Afterward, add missing context while it is still fresh. A short phrase can turn an ambiguous bullet into a useful record. Cross out completed items with a simple mark rather than repeatedly covering them in ink. If you photograph or scan the notes, check the image for pale colors and small lettering before discarding the paper. Keep the original when the record matters.
Build a study setup around retrieval
A study page should help you find and use information later. Choose a main pen that stays readable in your normal notebook, then limit accent colors to a few stable roles. For example, one color can mark definitions and another can flag questions to revisit. Add words or symbols as well as color so the meaning survives a monochrome copy.
Leave space for an example beside each important idea. Instead of coloring an entire paragraph, write a brief explanation in your own words and draw a small diagram where it helps. A fine-looking line may suit dense labels, while a more visible line may make headings easier to spot. Test the actual pen rather than assuming a particular category is always the right academic choice.
At the end of the session, turn the page into a retrieval exercise. Cover the explanation and answer the question from the heading. Use a second color for the part you forgot. This gives the colors an ongoing job beyond decoration. If drawing is a regular part of your notes, combine your writing pen with the practical methods in the EYEYE fineliner guide.
Separate planner needs from long-form writing
A planner often asks for compact words, repeated short entries and quick changes of attention. Try writing a realistic appointment, including a time and location, inside the smallest box you use. Check whether the letters remain open and whether the point feels easy to control. A retractable format may be convenient, but the page test should still decide whether the ink works for you.
A journal or long-form notebook gives you more room and usually a more settled writing position. Here, the feel of the grip, the balance of the barrel and the way you form repeated strokes become more noticeable. Write a full page before deciding. If your fingers tighten, pause and consider whether the grip, writing pressure or desk position needs attention.
There is no reason a planner pen and a journal pen must match. Keeping two clearly assigned pens can be simpler than searching for one compromise. The EYEYE fountain pen beginner guide offers a gentle first-page routine if you would like to explore a nib for slower personal writing.
Use color where it carries information
Color can distinguish speakers, stages in a process or types of notes. It can also make a busy page harder to scan when every line competes for attention. Begin with a main color and one accent. Add another only when you can describe its job in a few words. Keep a small key inside the notebook cover if you use the system across several weeks.
Consider the audience for the page. A private journal can use colors simply because you enjoy them. A shared checklist needs enough contrast and clear wording that another person can follow it without knowing your habits. If the page will be scanned, printed or copied, include symbols and labels. Color should reinforce the information rather than carry its entire meaning.
When choosing an EYEYE pack, inspect the listed ink assortment separately from barrel color. A colorful body does not by itself establish the ink inside. Make a swatch page when the pens arrive and keep it with the set. For a shared workspace, label the storage compartments by ink color or task so pens return to a useful place after use.
Run a fair comparison in fifteen minutes
Set out the pens you already own before deciding you need more. Use a single notebook page and divide it into clearly labeled sections. Write the same sentence, list and small diagram with each pen. Give yourself enough space to use your normal letter size. Do not slow dramatically for one pen while rushing another; compare the way you expect to write in practice.
After the samples dry, turn the page over and inspect the back. Then read the front from a normal distance. Put the pens aside for a moment so the look of the barrel does not dominate the decision. Circle the sample that is easiest to read and note the one that felt most comfortable. If those are different, consider which quality matters most for the task.
Finish by using the strongest candidate for a few minutes of real writing. Describe tomorrow's plan, summarize something you read or make a shopping list with details. This final step reveals whether your first impression survives normal thought and movement. Keep a runner-up for a different task rather than forcing the comparison to produce a single universal winner.
Swipe or scroll to compare the columns.
| Question | Sample to make | Observation to record |
|---|---|---|
| Can I read small details? | Names, times and a few numbers | Open letters and distinct digits |
| Does the paper suit it? | Sentence plus closely spaced lines | Edges, reverse visibility and bleed |
| Will it smear in my routine? | Spare marks checked after pauses | Whether your normal movement disturbs them |
| Can I write comfortably? | A short paragraph at normal pace | Grip tension and control |
| Is it convenient to carry? | Cap or retract, then store normally | Secure closure and easy retrieval |
Notice comfort without relying on a barrel label
A pen described as comfortable still has to suit your hand. During a trial, notice where your fingers rest and whether you keep moving them to find a stable position. Check whether the barrel feels secure with a relaxed grip. A smooth surface, a shaped grip and a different body diameter can each feel preferable to different writers. None of those features replaces a few minutes of ordinary use.
Try the pen in the setting where you will use it. A comfortable desk position does not reproduce writing on a clipboard while standing. If you switch between those settings, make a brief sample in each. Keep your wrist in a natural position and take breaks during long sessions. Do not keep using a pen in a way that causes discomfort simply because you liked the first line it produced.
Left-handed writers should include their normal hand path in the drying test. Right-handed writers can also smear fresh ink when annotating a diagram or moving backward across a page. Observe the movement rather than treating handedness as a complete prediction. You may find that changing the page angle, using a different paper or reserving a particular pen for slower writing solves the actual problem more effectively than changing every pen you own.
Think about pack quantity without wasting a purchase
A multipack can make sense when you know the pen suits your paper or when several people use the same format. Quantity alone is not value if most of the pens remain unused. First establish the ink color and point you prefer. Then consider how many locations genuinely need a pen: a desk, a bag, a shared work area or a classroom supply tray.
When comparing packs, divide the current price by the number of pens only after checking that the configurations are equivalent. A mixed-color assortment serves a different purpose from a pack of one ink color. A finer point or another barrel design may also change the experience. Keep price comparison attached to the actual selected product rather than a family name.
Store spare pens with their points protected and away from excessive heat. Use a simple first-in, first-out arrangement if you regularly replace a shared supply. A small label with the purchase month helps you remember which pack to open next without turning storage into an elaborate system. Do not infer refillability from appearance; confirm the exact product's instructions before buying replacement ink or attempting to open it.
 View photograph ↗
Match a pen to forms, signatures and shared documents
Some documents specify an ink color or writing method. Follow those instructions first. A favorite pen is not automatically suitable for every official form, carbon-copy sheet or document that will face moisture. If permanence or resistance is a requirement, look for an applicable, product-specific specification. A general description such as “smooth” or “quick dry” does not establish those properties.
Test an ordinary sample line on a spare piece of the same paper when available. Check that the writing stays inside the field and remains readable after any scanning step. For a signature, leave enough room to move naturally rather than shrinking a practiced movement into a tight space. Avoid drawing repeatedly over a wet signature to make it darker.
In a shared office, keep a clearly identified everyday pen supply and a separate designated option for documents with special requirements. This prevents a casual color assortment from becoming the default for every task. If the instructions are unclear, ask the organization receiving the document rather than trying to infer acceptance from a pen's marketing language.
Build a small EYEYE writing kit with distinct jobs
A practical starting kit might contain one main writing pen, one accent color and a backup of the main pen. Add a drawing tool only if you regularly make diagrams or illustrations. Assign each a place in your case so you can reach for it without inspecting every barrel. The arrangement matters most when you are changing tasks quickly.
For frequent short entries, begin your trial with the EYEYE gel pen collection. For liquid-ink writing with a rolling point, explore EYEYE rollerball pens. For a different writing feel and a prefilled nib format, compare EYEYE fountain pens. The fineliner collection serves drawing and detailed line work.
After a week, look at what you actually reached for. Keep the pens that solved a recurring task and move unused colors out of the daily case. Your own pages will give you a better next-purchase brief than a long list of hypothetical uses. Save the comparison sheet, note the paper that worked and choose the next pack with those details in hand.
Find the pen for your next page.
Compare the current EYEYE collection by format, ink color and pack.
Explore rollerball pens →